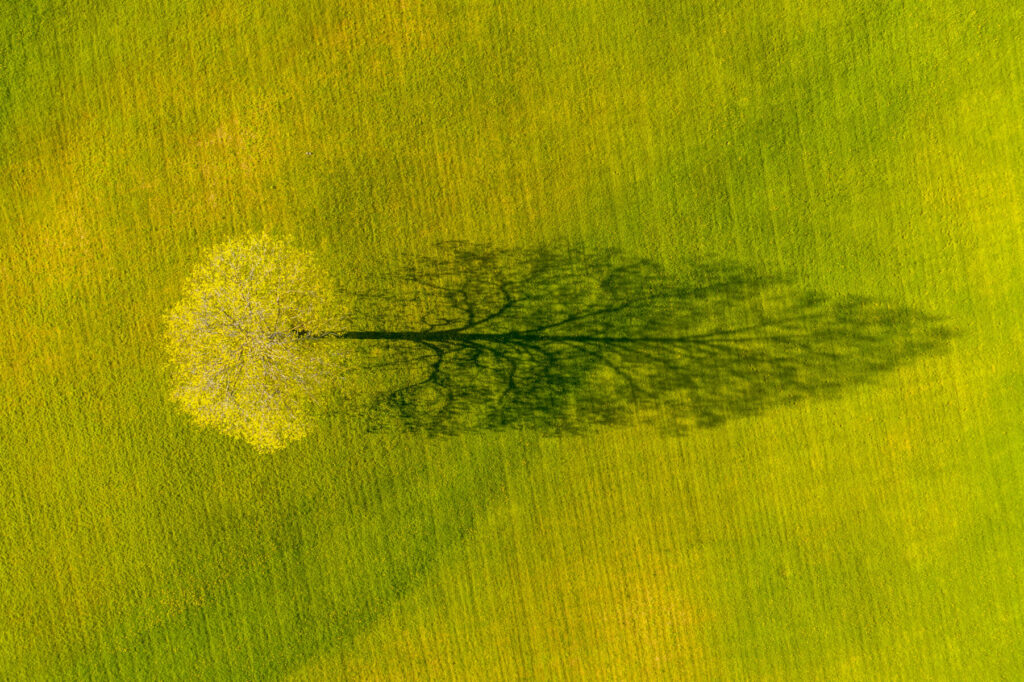
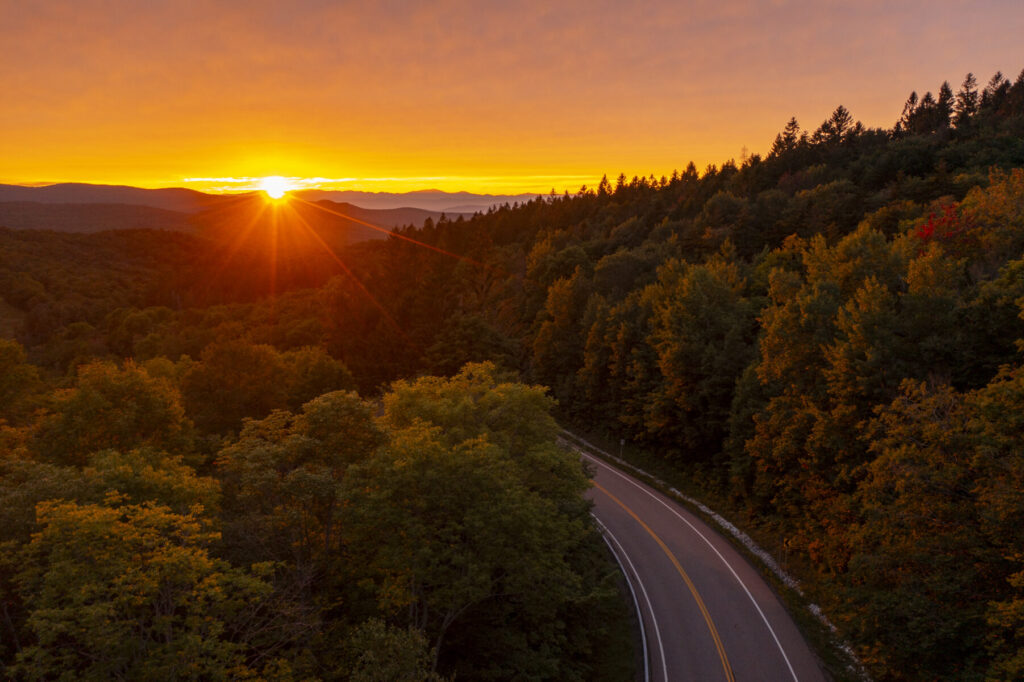
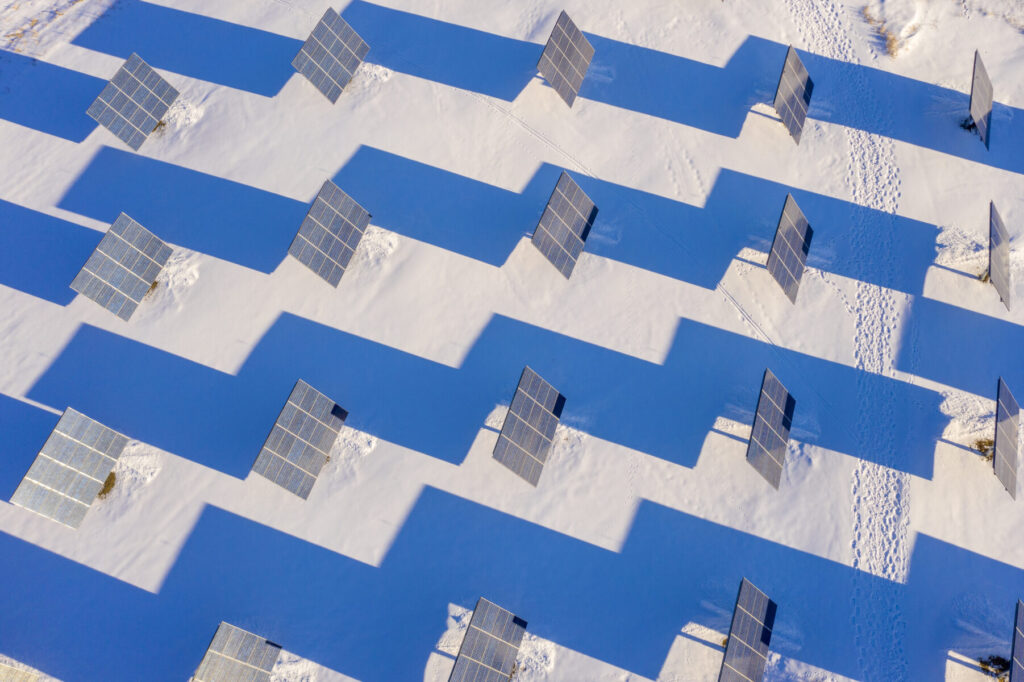
1. Shoot During the Golden Hours
If it’s a sunny day, I like to get up before dawn and be in place as the sun crests the Green Mountains—or whatever landscape I’m photographing. Sunrise and sunset offer warm tones, long shadows, and dramatic light, perfect for powerful images. Shoot into the sun for glowing, backlit scenes; shoot with the sun behind the drone for warm, evenly lit landscapes; or aim straight down to highlight graphic shadows and natural patterns.
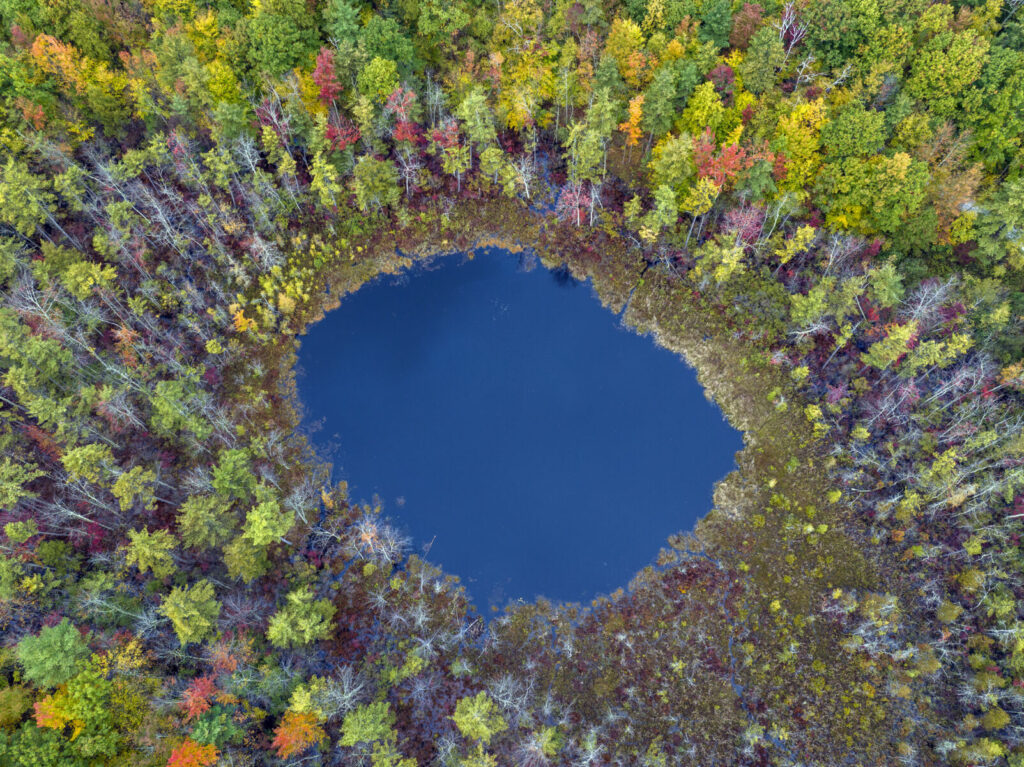
2. Embrace Cloudy Days
Before drones, cloudy days used to disappoint me—the light felt “bad.” But now, I embrace overcast skies. The soft, shadowless light is ideal for top-down drone photography. I often exclude the horizon and gray sky entirely, focusing the camera straight down to capture ponds, rivers, forests, or even stacked firewood. On cloudy days, I tend to fly lower and look for details that pop in diffused light.
3. Use Maps
I love maps—whether it’s my well-worn Vermont Gazetteer or Google Maps on my phone or car screen. Before I go out, I’ll scout locations for interesting features: lakes, islands, winding rivers, even bogs. On the road, I’ll often zoom out on the car’s GPS map, spot a twisty blue line, and go explore it from the air. Mapping helps me find hidden gems that might not be visible from the ground.
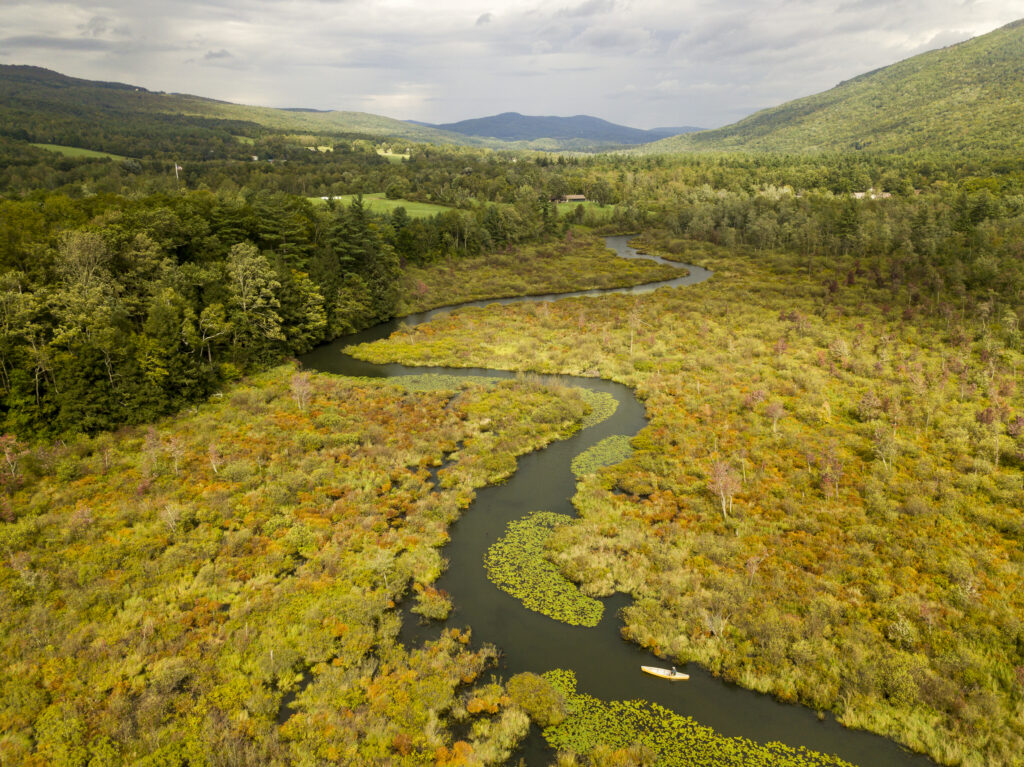
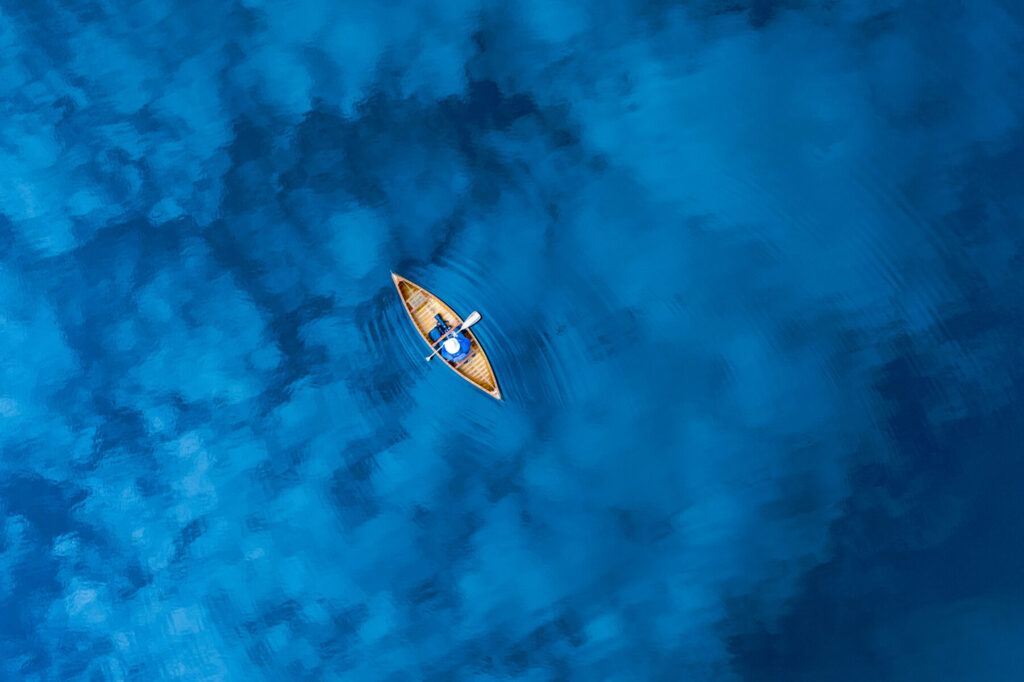
4. Include People in Your Drone Photos
While FAA rules prohibit flying directly over people, that doesn’t mean you can’t photograph them—from a respectful distance and angle. When possible, I ask permission before photographing people from above. Including a person in a landscape shot adds a sense of scale and helps viewers emotionally connect—whether it’s a solo canoeist on a misty lake or a skier on a snowy trail.
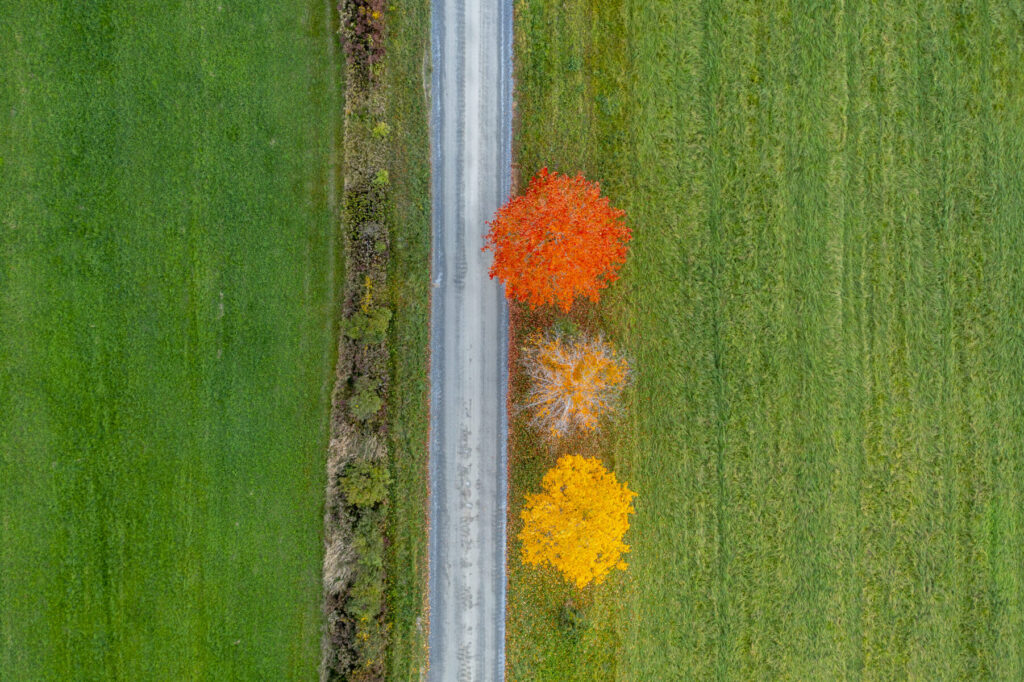
5. Have a Point of Focus
When I first started flying drones, I’d go straight up to 400 feet and take wide shots like I was using a very tall tripod. But those early photos often lacked a clear subject. Over time, I began flying lower and paying closer attention to patterns and focal points—fields, barns, rivers, or village greens. Drones allow you to get close, hover, and frame with intention. Use that flexibility to focus your compositions.
6. Create Strong Compositions
Most drone cameras use fixed wide-angle lenses, so your framing and perspective matter even more. I haven’t been thrilled with the quality of telephoto drone lenses (yet), but with a wide lens, I can move the drone in countless directions—up, down, side to side—to fine-tune my composition. Even subtle shifts in position can dramatically improve your shot. Think like a painter, not just a pilot.
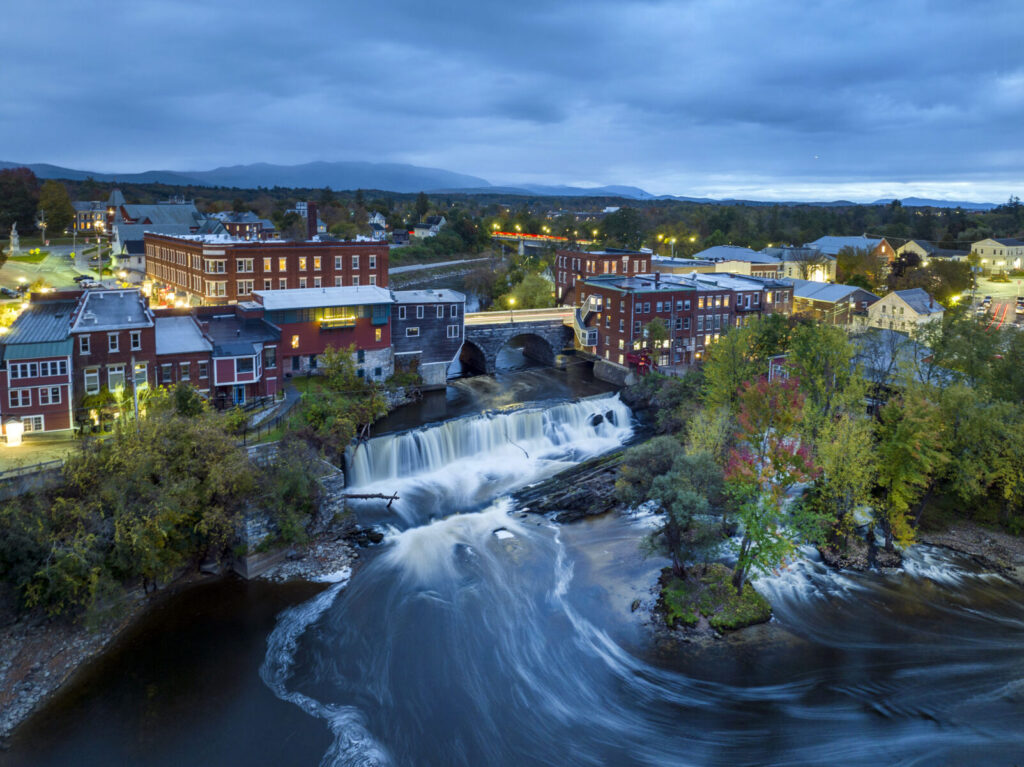
7. Take Twilight Drone Photos
Twilight is one of my favorite times to shoot. About ten minutes after sunset, the balance between ambient daylight and artificial lights creates a magical atmosphere. During the day, I shoot in automatic exposure, usually underexposing by 2/3 of a stop. At twilight, I switch to Pro (manual) mode and use shutter speeds from 1 to 8 seconds. This lets me keep buildings and roads sharp while blurring rivers or headlights into smooth, flowing motion.
Share your tips and comments in the section below!
Pro tips applicable for any drone pilot, experienced or a novice like me. Love the sunset shots!
Very helpful, thanks. Love your work
Thanks very much Jon!
Caleb